
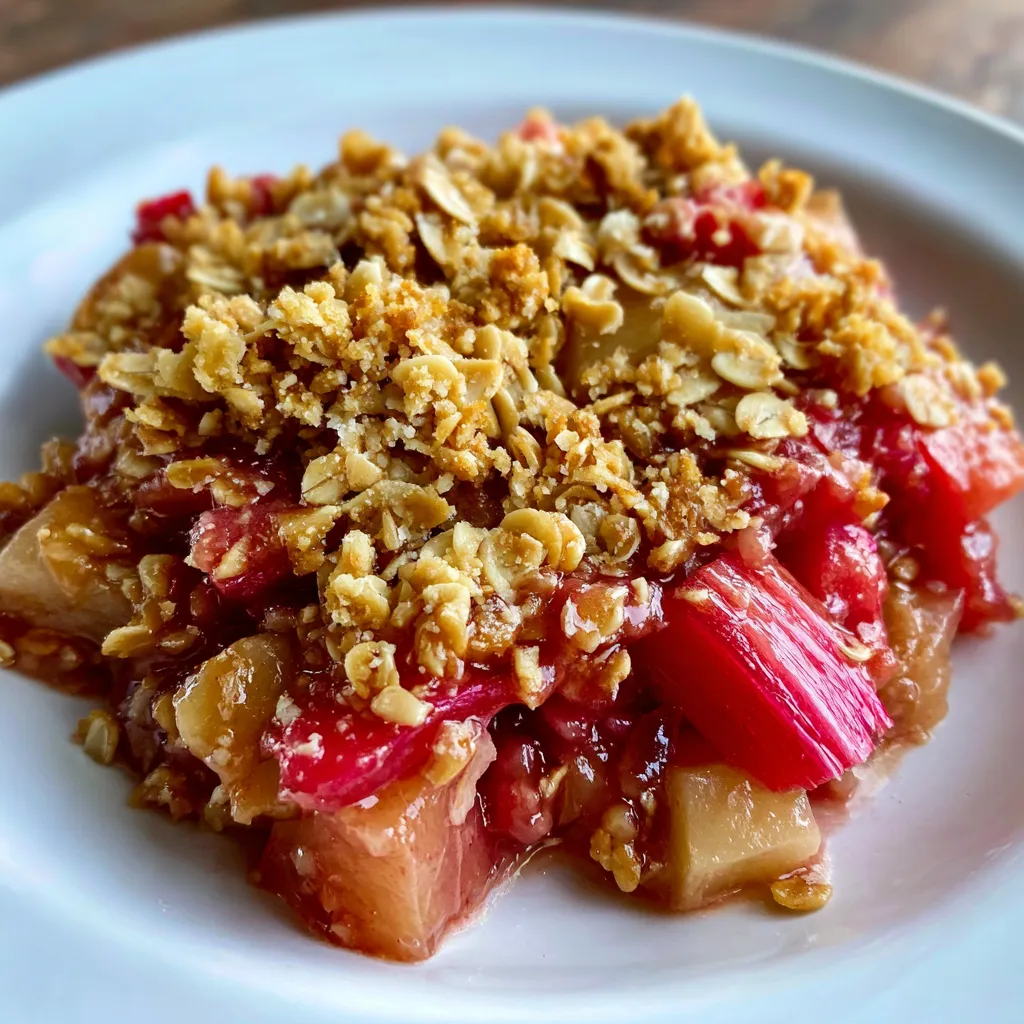
Classic Rhubarb Crisp with Brown Sugar Oat Topping delivers the perfect balance of tart rhubarb spears and a golden, buttery oat crust that bakes into bubbling sweetness. Bright stalks simmer under a crunchy brown sugar oat crust, while sugar, lemon juice, and vanilla coax out the natural tang. As the juices caramelize, every spoonful promises pure comfort—especially when served warm with vanilla ice cream. Whether you’re new to fruit crisps or searching for an easy dessert to impress, this beginner-friendly treat is sure to become a summer baking favorite.
Here’s what you’ll need to bring this crisp together, balancing tartness, sweetness, and that irresistible oat topping:
Let’s bring this beautiful dessert to life in just a few simple steps. From preparing the tart rhubarb filling to crafting that irresistible oat crumble, you’ll layer flavors and textures in one dish—no fancy equipment needed. Follow these detailed instructions to ensure each component bakes up perfectly golden, bubbling, and ready to enjoy.
1. Preheat your oven to 375°F (190°C) and grease a 9-inch baking dish with butter or nonstick spray to prevent sticking.
2. In a large mixing bowl, combine the rhubarb, granulated sugar, 2 tablespoons flour, lemon juice, and vanilla extract. Toss everything thoroughly so each rhubarb piece is evenly coated.
3. Spread the rhubarb mixture in a single layer across the bottom of the prepared baking dish for even cooking.
4. In a separate bowl, stir together the oats, packed brown sugar, 1/2 cup flour, ground cinnamon, and salt until fully mixed.
5. Add the cold cubed butter to the oat mixture and use a pastry cutter or your fingertips to blend until coarse, pea-sized crumbs form.
6. Sprinkle the oat topping evenly over the rhubarb layer, covering all edges for a consistent crust.
7. Bake for 35 to 40 minutes, or until the topping is golden brown and the filling is bubbling around the sides.
8. Let the crisp cool slightly on a wire rack for 10 to 15 minutes so the juices set before scooping and serving.
This rhubarb crisp is a crowd-pleaser on its own, but a few thoughtful touches can make it shine even more. Whether you’re plating for a weeknight treat or a summer gathering, here are some ideas to elevate every spoonful:
Mastering this crisp is all about timing and keeping ingredients at the right temperature. Be sure to cut your butter cold, let the crisp rest before serving, and don’t be afraid to tweak the spices for your taste. Here are a few friendly pointers from my own kitchen adventures:
Once you’ve indulged in a few pieces, you’ll want to preserve that delightful texture and flavor. Proper storage ensures your crisp stays moist inside with a still-crunchy topping:
Here are quick answers to common questions so you can bake with confidence:
It takes about 15 minutes to prepare the rhubarb filling and oat topping, plus 35 to 40 minutes of baking time at 375°F (190°C). Plan on cooling for 10 to 15 minutes before serving, for a total of roughly 60 minutes from start to table.
Yes, you can use frozen rhubarb. Thaw it completely in the refrigerator, then drain off any excess liquid and pat the pieces dry with paper towels before tossing with the sugar, flour, lemon juice, and vanilla. This prevents the filling from becoming too watery.
The crisp is ready when the oat topping is golden brown all over and the rhubarb filling is visibly bubbling around the edges of the baking dish. A lightly browned border signals that the interior has reached the right temperature and consistency.
Cover any leftovers tightly and refrigerate for up to three days. To revive the crispness of the topping, reheat in a 350°F (175°C) oven for 10 to 15 minutes. If using a microwave, heat in short intervals and omit the cover to preserve texture.
Absolutely. Substitute all-purpose flour in both the filling and topping with a 1:1 gluten-free baking blend. Be sure to use certified gluten-free old-fashioned oats to avoid cross-contamination.
Yes. Prepare steps 1 through 6, cover the unbaked dish, and refrigerate for up to 24 hours. When ready, bake directly from the fridge, adding an extra 5 to 10 minutes if needed to ensure the filling bubbles and the topping crisps.
Sogginess often results from using butter that’s too warm or from excess moisture in the filling. Make sure your butter cubes are cold when you cut them into the oat mixture, and drain any extra liquid from the rhubarb if it looks very wet after mixing.
Serve warm with vanilla ice cream or a dollop of whipped cream for extra richness. For a spice twist, stir in a pinch of ground ginger or nutmeg into the oat topping. You can also sprinkle chopped nuts, like almonds or walnuts, on top before baking for added crunch.
This Classic Rhubarb Crisp stands out because it’s straightforward enough for beginners yet delivers that wow factor with its bubbling tart filling and golden, crunchy oat crust. The blend of brown sugar and cinnamon makes every bite taste like summer in a bowl, and the simple swap to gluten-free flour means everyone can indulge. Go ahead and print this recipe to keep on hand—it’s one you’ll revisit again and again. Let me know how it turned out or drop any questions below—I’m here to help!
Tart rhubarb spears tossed with sugar and vanilla bake beneath a golden, buttery oat topping. As the juices bubble and caramelize, the kitchen fills with warm, sweet-spiced aromas that promise pure comfort.

Hi! I’m Max Turner, the recipe hacker, flavor hunter, and home-cook behind RecipesAsSeen.com. Like most guys, I’ve lost count of how many times I’ve seen a mouthwatering recipe on TV, TikTok, or YouTube and thought, “Is that even legit?” That curiosity (and hunger) turned into this blog.