
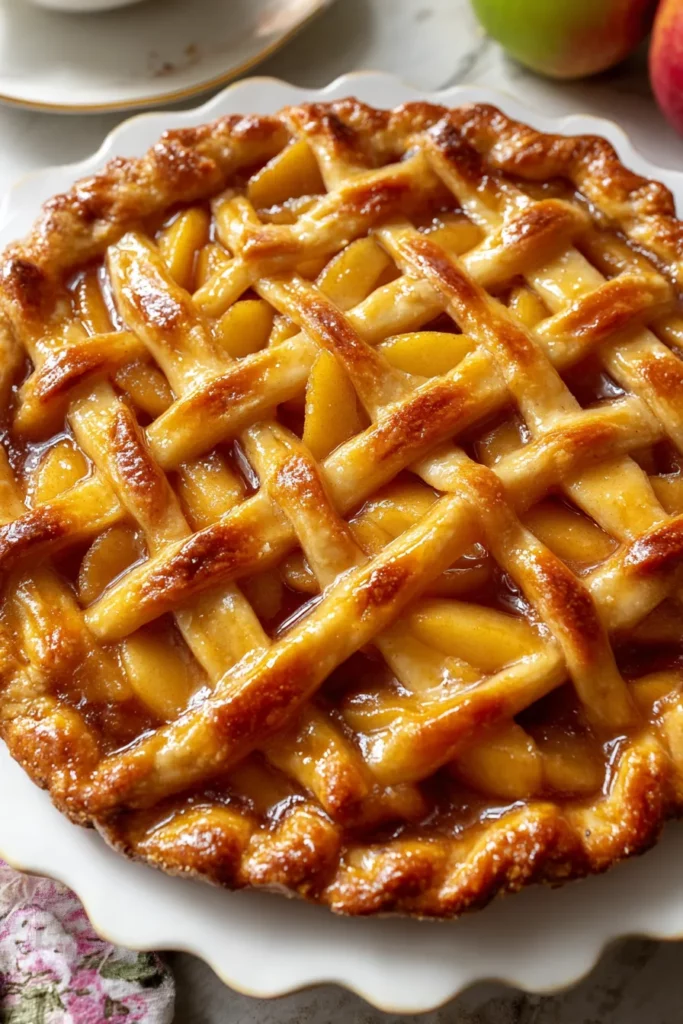
There’s something truly special about crafting your own homemade apple pie filling from scratch. It’s that heartwarming ritual of peeling, coring, and slicing crisp, tart Granny Smiths or naturally sweet Honeycrisps, knowing every step infuses your dessert with genuine love. This filling isn’t just a convenience for a pie shell—it’s an experience that invites you to celebrate the vibrant dance of flavors: the bright hit of fresh apples, the gentle warmth of cinnamon and nutmeg, and the velvety hint of vanilla that ties it all together. As a passionate home cook, I can’t help but get giddy when the pot begins to bubble, transforming simple pantry staples into a thick, glossy sauce that clings lovingly to each fruit slice. You’ll find yourself stealing little spoonfuls straight from the saucepan, savoring that perfect balance of sweet and tart, all wrapped up in a whisper of buttery richness.
When you start gathering your ingredients, you’ll feel like a kid again, tracing the edge of a mixing bowl with anticipation. Given that this recipe is rated at a beginner level and only takes about 20 minutes to prep, 10 minutes to cook, and a brief 5 minutes to rest, it’s both approachable and quick enough to slot into a busy weeknight. Over the years, I’ve turned these vibrant jars of apple filling into everything from grand, flaky double-crust pies to rustic galettes that my friends devour in seconds. And oh, how satisfying it is to know exactly what’s going into your dessert—no mystery thickeners or preservatives, just pure, farm-fresh flavor. With roughly 300 calories per serving and enough to delight six grateful diners, this filling bursts with fresh apple character, sweet nuances from brown sugar, and an enveloping hug of warm spices. You’re about to craft a dessert that feels like home in every bite.
Before diving into the pot, let’s take a quick tour of our flavor all-stars. Each ingredient plays its part in building that perfect filling texture and taste. From the crisp apples to the final buttery finish, here’s what you’ll need:
These are the heart and soul of your filling. Granny Smith apples lend a bright tartness, while Honeycrisps offer a natural sweetness. Uniform, thin slices ensure even cooking and a satisfying bite.
A touch of acidity prevents your apples from browning too quickly and adds a lively contrast to the sweet elements, lifting the overall flavor profile.
Provides the primary sweetness, helping to balance tart apple varieties and contributing to that glossy, slightly sticky finish on each slice.
Adds a deeper, caramel-like richness thanks to its molasses content. It intensifies the sweet note and complements the warm spices beautifully.
Acts as the thickening agent, transforming the apple juices and water into a luscious sauce that clings perfectly to each slice without becoming gluey.
Offers that signature warm, comforting spice that makes apple pie filling unmistakably autumnal and cozy.
A little goes a long way in providing a nutty, fragrant background note, rounding out the spiciness of the cinnamon.
Enhances all the flavors by providing subtle balance. Just a pinch brings out each sweet and spicy element more vividly.
Helps dissolve sugars and cornstarch, creating the base of our sauce. It also helps the mixture come to a smooth, even boil.
Infuses a floral, sweet nuance that elevates the filling, making every bite taste like it’s been kissed by a baker’s touch.
Stirred in at the end, it enriches the sauce with a silky mouthfeel and a hint of creamy depth, tying everything together.
Let’s roll up our sleeves and transform these simple ingredients into a sensational filling that’s ready for pies, tarts, and more. This step-by-step guide will walk you through each moment of the process, ensuring your apples stay tender and your sauce hits that perfect consistency.
1. Prepare the apples
Begin by peeling, coring, and slicing your apples into thin, even pieces. Uniformity is key here—it ensures every slice cooks at the same rate. Transfer the slices into a large bowl and toss them with fresh lemon juice to keep them from oxidizing and to add a bright hint of acidity.
2. Combine dry ingredients and water
In a medium-sized saucepan, whisk together granulated sugar, brown sugar, cornstarch, ground cinnamon, ground nutmeg, and salt. Pour in the water, stirring continuously until the cornstarch is completely dissolved and the mixture looks smooth and lump-free.
3. Heat and thicken
Place the saucepan over medium heat, stirring constantly as the mixture warms. Bring it to a gentle boil, then maintain that boil for about 2 minutes. You’ll notice the sauce begin to turn thick and bubbly, a clear sign that the cornstarch is doing its job.
4. Add vanilla
Remove the pan from the heat and stir in the vanilla extract. This step preserves its delicate aroma and flavor, preventing it from evaporating under high heat.
5. Coat the apples
Carefully fold the sliced apples into the thickened sauce, making sure each piece is thoroughly coated. Use a gentle, sweeping motion to avoid breaking the slices.
6. Simmer to tender perfection
Return the saucepan to medium-low heat and let the mixture simmer for about 5 minutes. Keep an eye on the texture of the apple slices—they should become slightly tender but still hold their shape.
7. Enrich with butter
Take the pan off the heat one last time and stir in the small pieces of unsalted butter until they melt fully. This final touch gives the sauce a decadent sheen and a rich mouthfeel.
8. Cool before use
Allow your filling to cool slightly on the countertop. Once it’s lukewarm, it’s ready to be spooned into pie crusts, layered in pastries, or packed into jars for future baking adventures.
After all that loving preparation, you’ll want to showcase your homemade filling in the most delightful ways. Whether you’re aiming for classic comfort or playful twists, these ideas will help you serve up your creation and win hearts (and taste buds). Each suggestion leans on a different texture or pairing, so feel free to explore and discover new favorites.
Once your filling is ready, you’ll want to keep it fresh, flavorful, and ready to jazz up any dessert on a moment’s notice. Proper storage ensures that the spices stay vibrant, the apple slices retain their texture, and the filling remains perfectly saucy.
Store your cooled filling in an airtight container in the refrigerator. It will stay fresh for up to one week, making last-minute pie assembly a breeze. Just give it a quick stir before use to revive its silky consistency.
This homemade apple pie filling recipe has walked you through every single detail, from selecting the crispest apples to stirring in the final pats of butter that give it a silky finish. You now have the knowledge to whip up a beginner-friendly dessert centerpiece in under an hour—20 minutes of prep, 10 minutes of cooking, and just 5 minutes of resting until it’s ready for your favorite crust or creative serving style. With clear guidelines on key ingredients, step-by-step instructions, serving ideas, and foolproof storage methods, you’re fully equipped to elevate any pie, galette, tart, or even breakfast bowl to something memorably delicious. Feel free to print this article and tuck it into your recipe binder for easy reference, or save it on your device—either way, it’s ready for whenever your dessert cravings strike.
Below, you’ll find a handy FAQ section to troubleshoot any questions you might have, but if you’ve got thoughts, comments, or adventures using this recipe—please share! Did you get creative with a splash of apple brandy or experiment with different apple varieties? Have tips for your own signature spin? Leave your feedback, ask for clarification on any step, or simply let me know how your homemade filling turned out. Happy baking, and may every slice bring comfort and delight to your table!
This homemade apple pie filling bursts with fresh apple flavor, sweetness, and warm spices, making it an irresistible addition to your favorite pies or pastries.

Hi! I’m Max Turner, the recipe hacker, flavor hunter, and home-cook behind RecipesAsSeen.com. Like most guys, I’ve lost count of how many times I’ve seen a mouthwatering recipe on TV, TikTok, or YouTube and thought, “Is that even legit?” That curiosity (and hunger) turned into this blog.